Hello Aisle Perfect readers! Thanks so much for all of the love and support following my last post. Wedding planning is in full swing now but I figured that I would tell you all my amazing engagement story before we get started on the details of the big day!
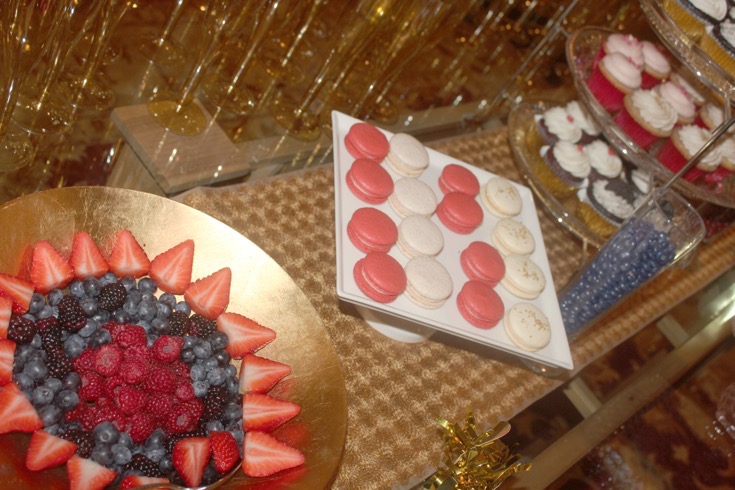
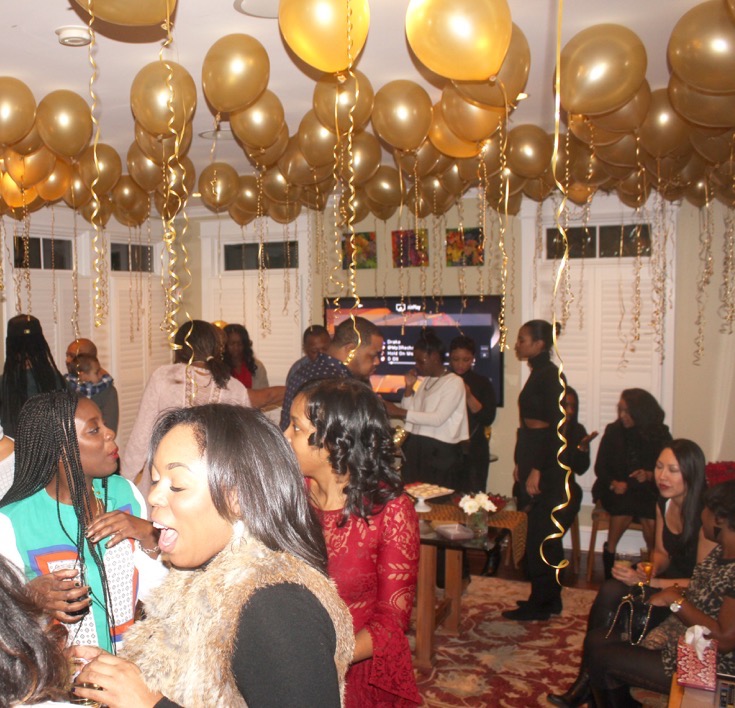
On January 30th (three days before my birthday) my boyfriend took me to one of the top restaurants in the DC area, Fiola. I had a feeling something was up because he knew the time of the reservation a week in advance and normally he’s a spontaneous, on-the-fly kind of guy. We had an amazing dinner and then my mom called and said there was an emergency at her house. Once we arrived, I heard a huge shout of “surprise” and saw hundreds of gold balloons, friends from out of town and a beautiful dessert display (which rivaled some of mine).
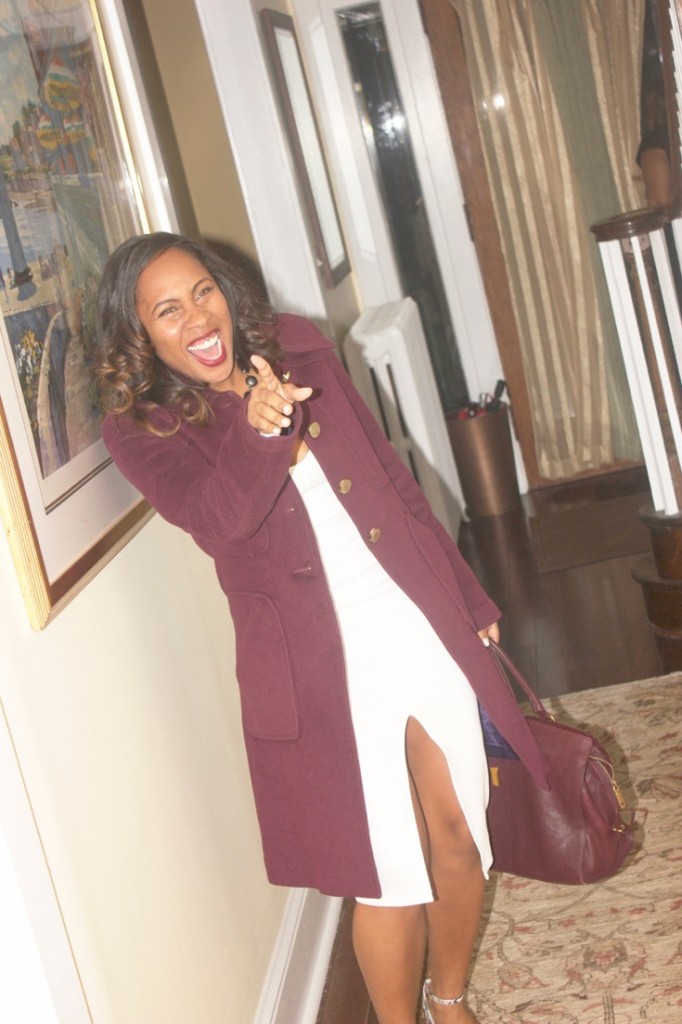
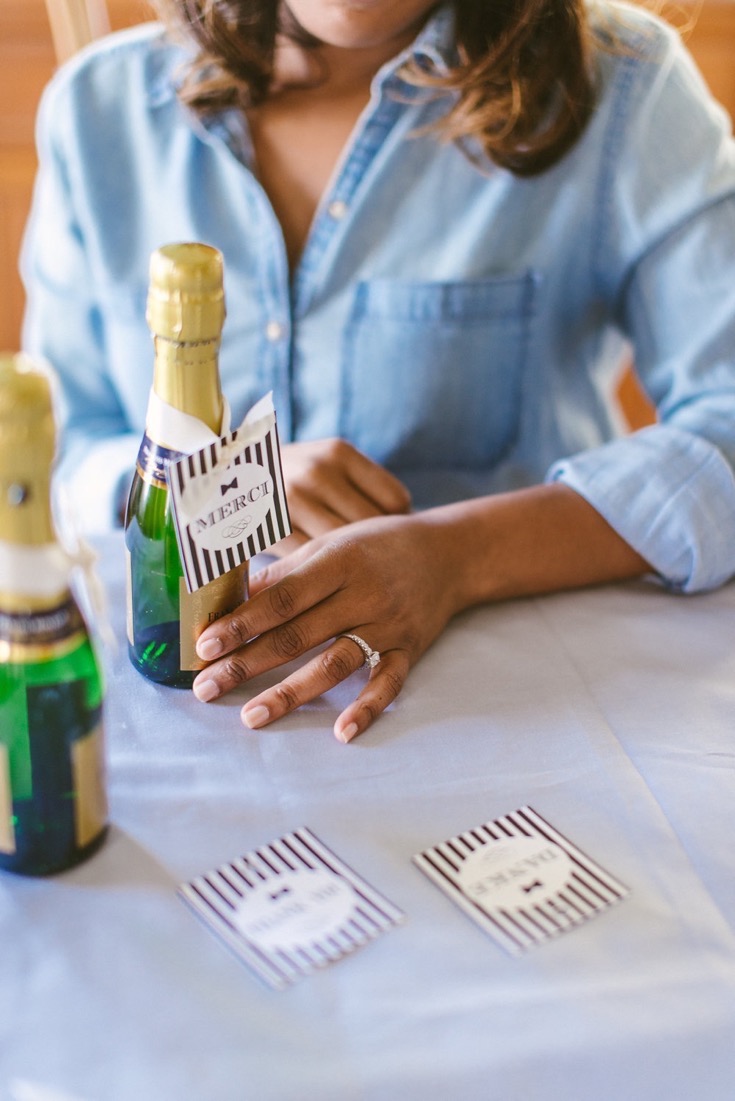
After admiring the display, I turned around and saw my boyfriend on bended knee with a red, velvet, Mrs. Box and the most gorgeous diamond ring I could have ever imagined. I could tell he took notes on what I wanted as well as what he wanted and made the perfect custom blend of our tastes.
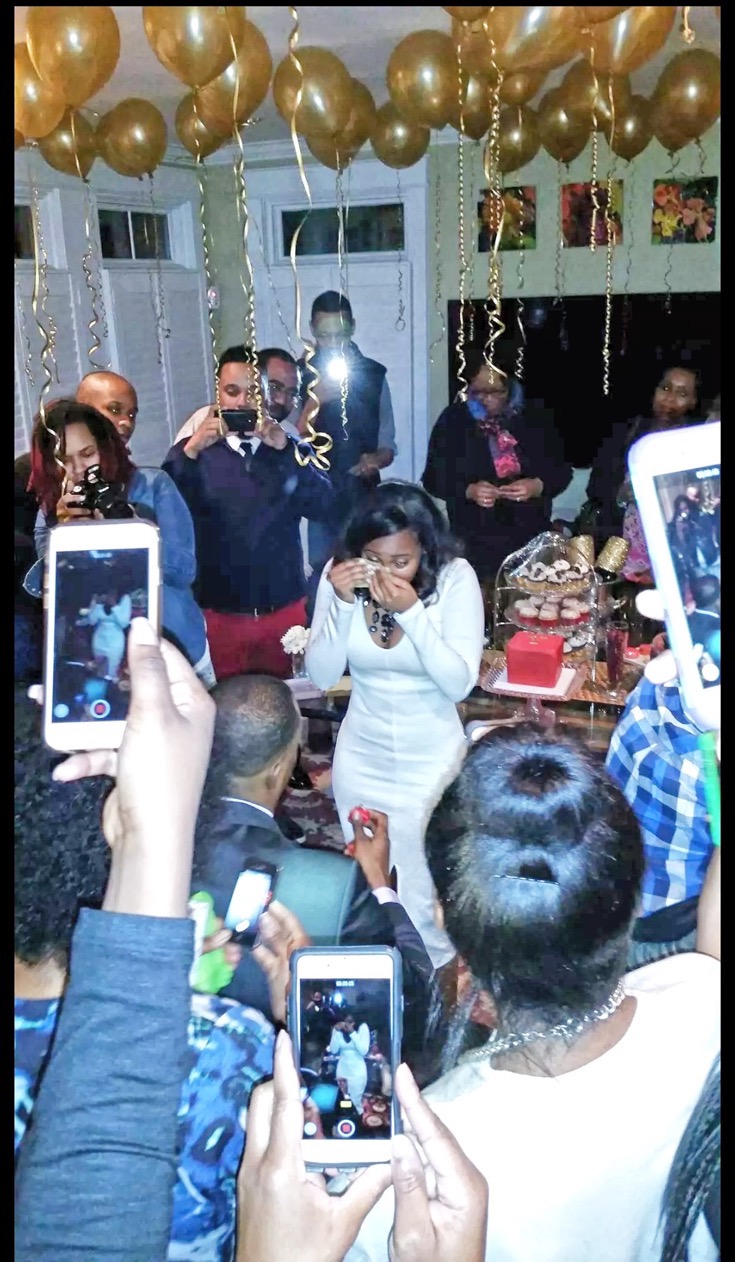
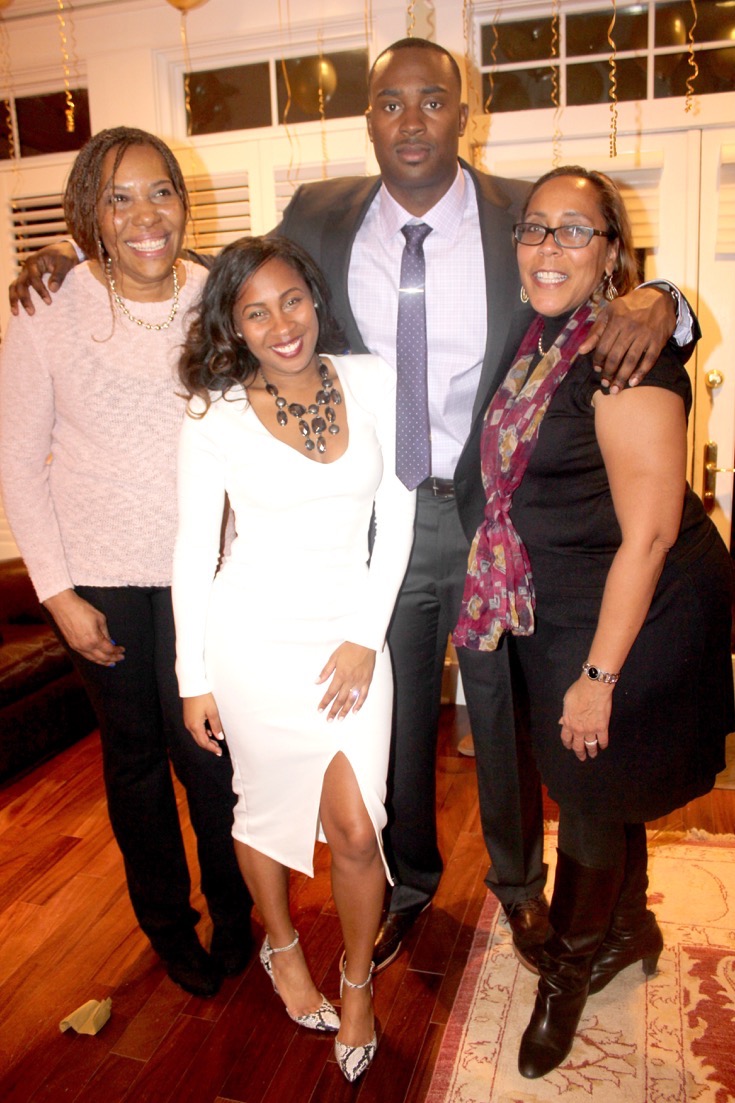
After I recovered from the all the excitement, we danced the night away with our closest family members and friends!
Quick tip for all the brides-to-be, you’ll receive lots of gifts along the way – including your engagement party and many other bridal events. Here’s a fun DIY thank you gift which you can have on hand at your many events. And let’s face it cards are nice, but bubbly’s better!!
Items needed: “Thank You” tags, Hole Punch, Ribbon, Mini Champagne Bottles, Scissors
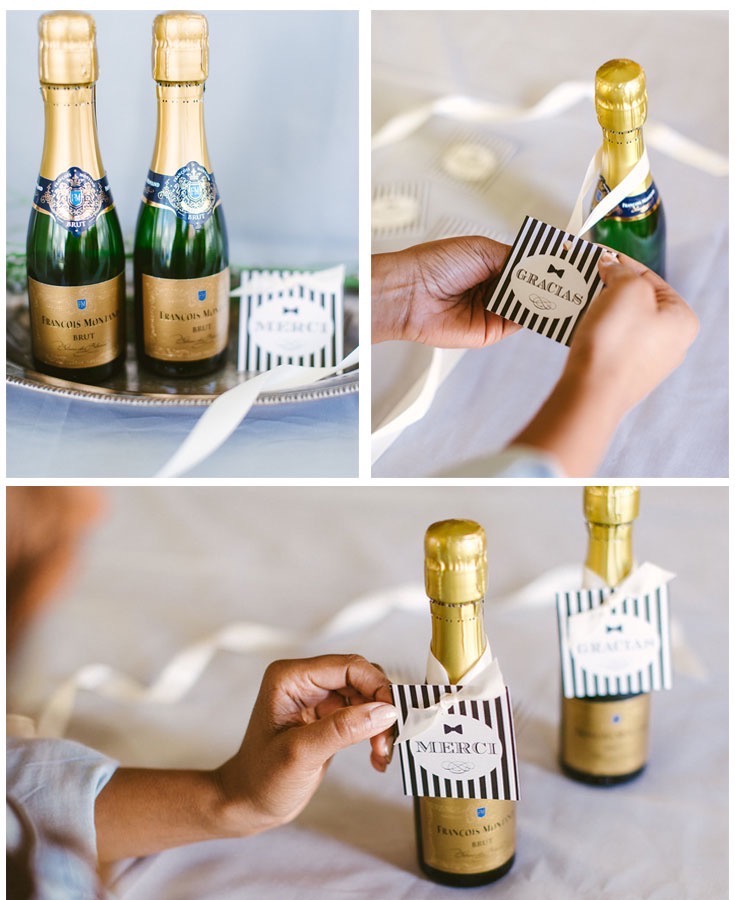
Step 1: Print, purchase or create fun “Thank You” tags on cardstock paper and punch a hole for your ribbon at the top. Allison Barnhill of Allison Barnhill Designs created these!
Step 2: Thread the ribbon around the neck of the champagne bottle and bring both ends through the hole.
Step 3: Cut the ribbon to your desired length. You can cut the ends on an angle, tie the ribbon in a bow or fray them depending upon the “look” you’re going for.
Step 4: Arrange on a pretty display and you’re all set!
Check out @SuitsandSequins on Instagram for more party and wedding planning inspiration and catch up with my fellow blogger #APbrides on the blog (here).
